How To
In this section I go over how to use each sections to create a unique attribute.
rmanC
This attribute is suitable for adding color variation. Using this UI, you have options to create:
- random color
- random shade of color
- random grayscale
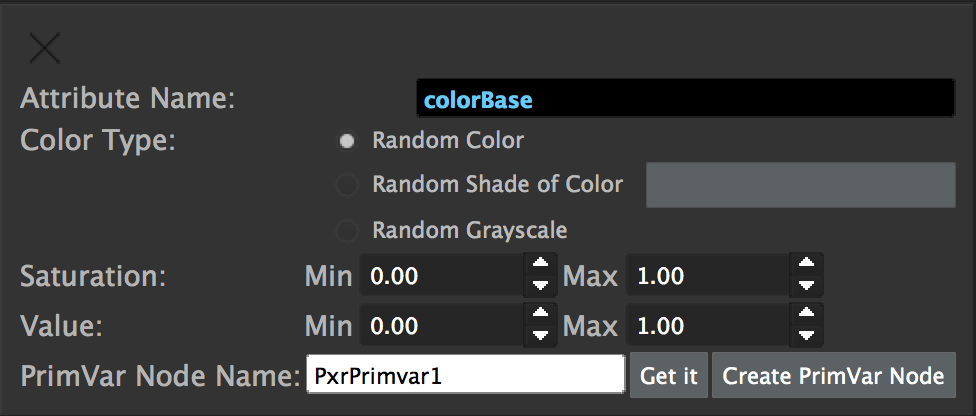
As you can see in above image, you have control over the name of the attributes, shade of color, value and saturation.
Note
All the color system in this UI is HSV.
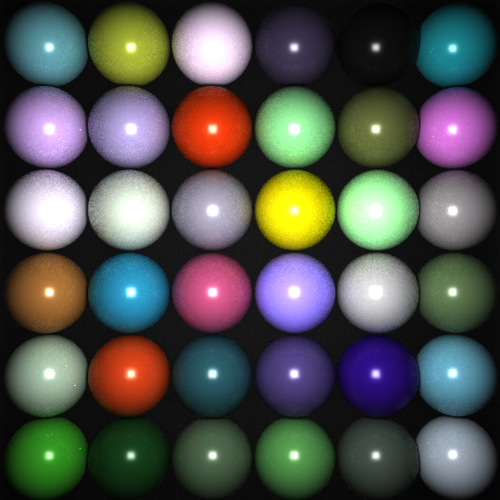
Here are some examples of using this attribute to generate different results:
Random Color
- Choose a new attribute name
- Select a random color option
- Modify the saturation and value as you desire
Note
(optional, this apply to all the Primvar attributes) specify the name of the PxrPrimvar node. This option will you help to set the correct name and attributes on the PxrPrimvar node.
- Select your objects, and click on the assign button to attach the new attribute to them.
- Set the same attribute name to the PxrPrimvar node and set type to color. If had already specified name of the PxrPrimvar in the UI, it’ll bee set automatically.

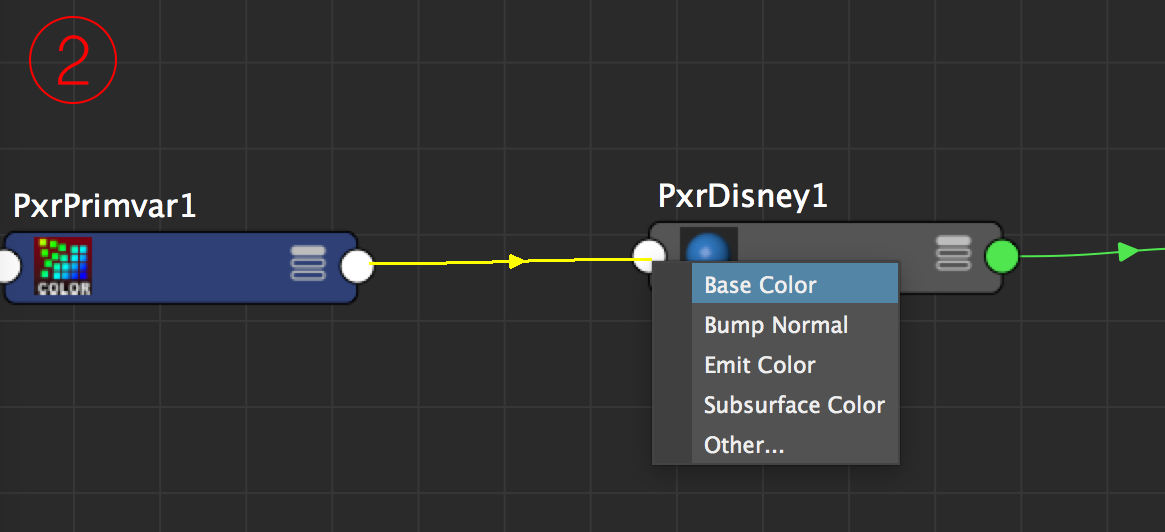
- Connect the RGB output of the PxrPrimvar to any input color of your shade, in this case baseColor.
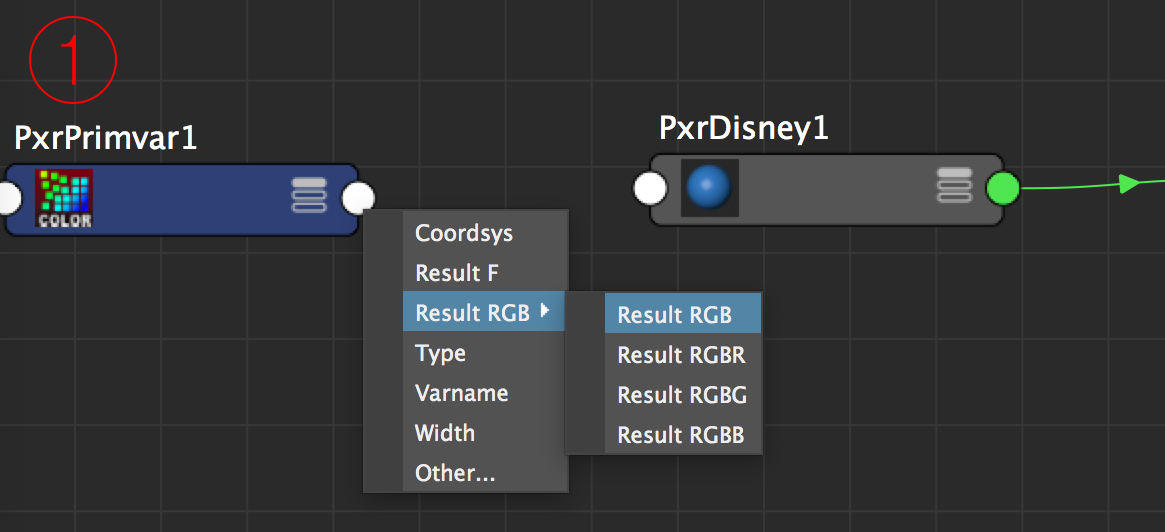
Here is the result:
Important
If you open the shapeNode attribute editor of any of the objects, you’ll see the new attribute is added.

Random Shade of Color
- Choose the Random Shade of Color option.
- Click on the color picker button next to it an pick a Hue. Remember that you are just picking a hue in HSV color system, meaning that value and saturation will be adjust in the following section.
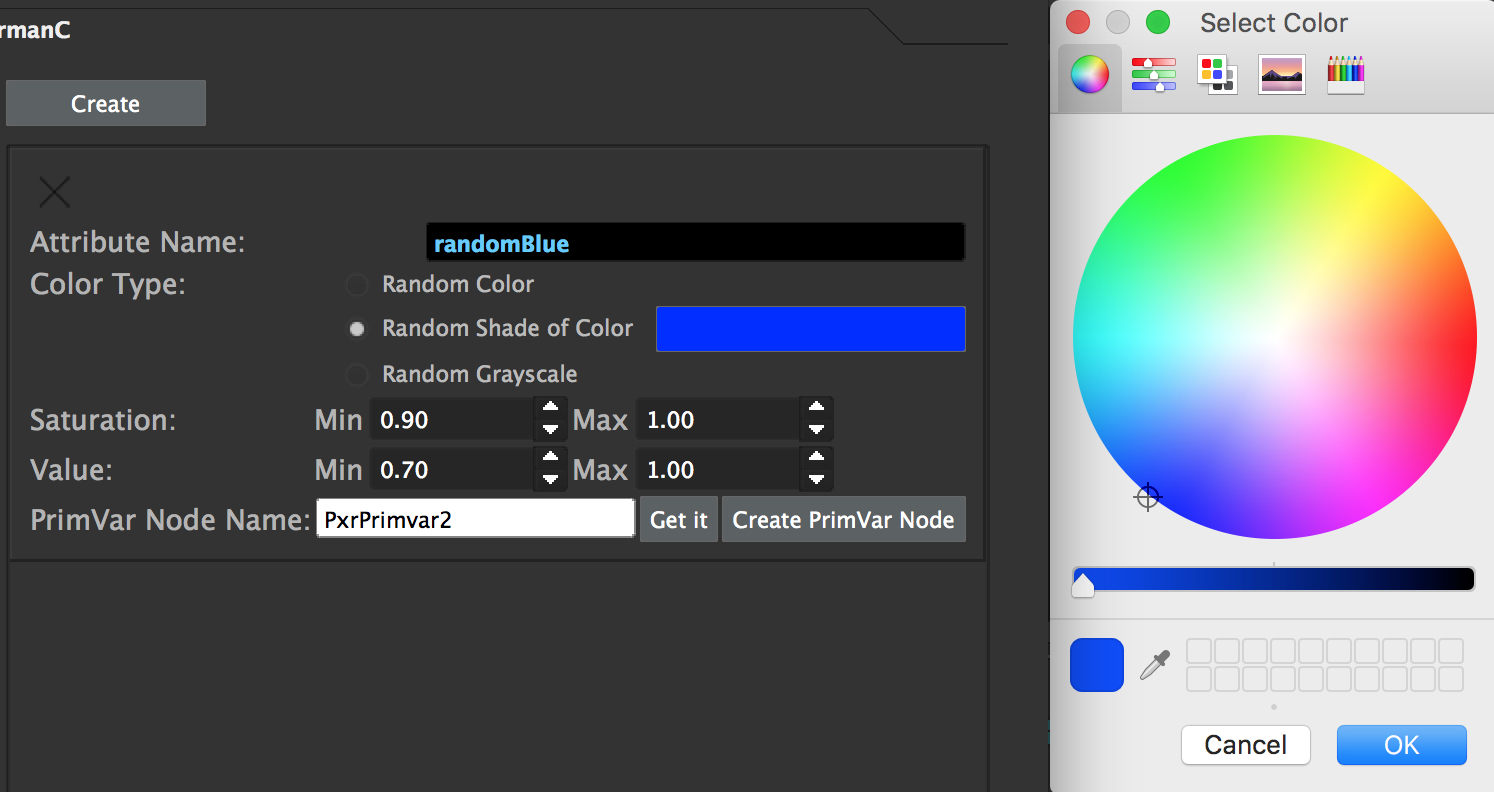
- Set the Max and Min of the Value and Saturation to add some variation to the Hue
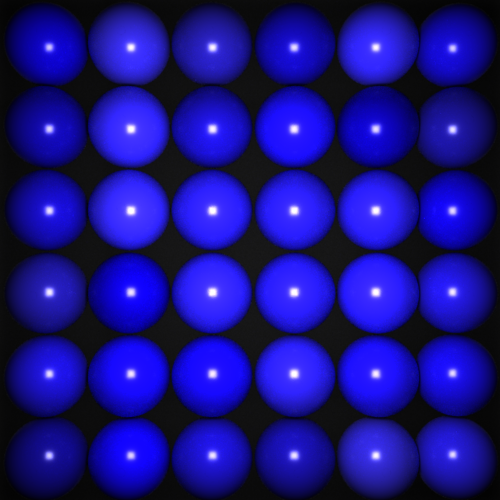
- Assign the attribute, and connect the result RGB of the PxrPrimvar to the color input.
rmanF
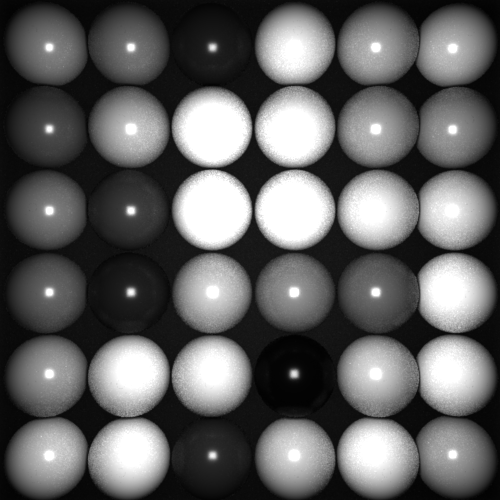
This a useful variable for make variation in any shader attribute that gets floating number as an input, such as Specular, Roughness, Bump, *Metallic, and so on.
To demonstrate this, I assigned a PxrLMMetal to all the Spheres, and the result is as follow.
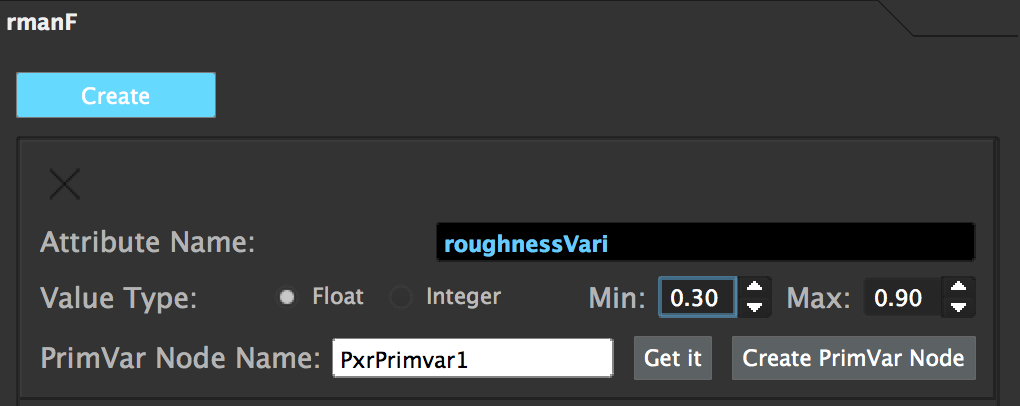
Then click on a Create button to make a new Primvar attribute UI.
Make sure to: Give it a meaningful name. *Choose a appropriate *value type (the float type is more common) Adjust the *min/max limit.
Note
As previously mentioned, if you specify the PixPrimvar node name,
it’ll automatically adjust it’s value.
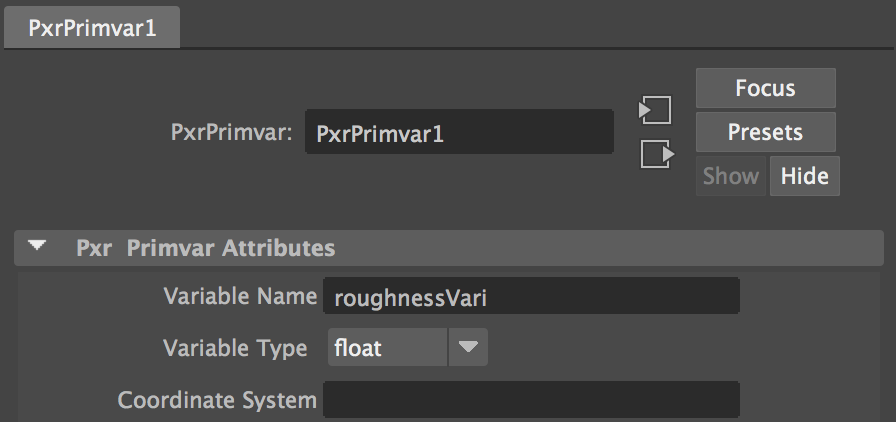
After assigning the attribute to the selected objects you’ll see newly created attribute on the shape node.

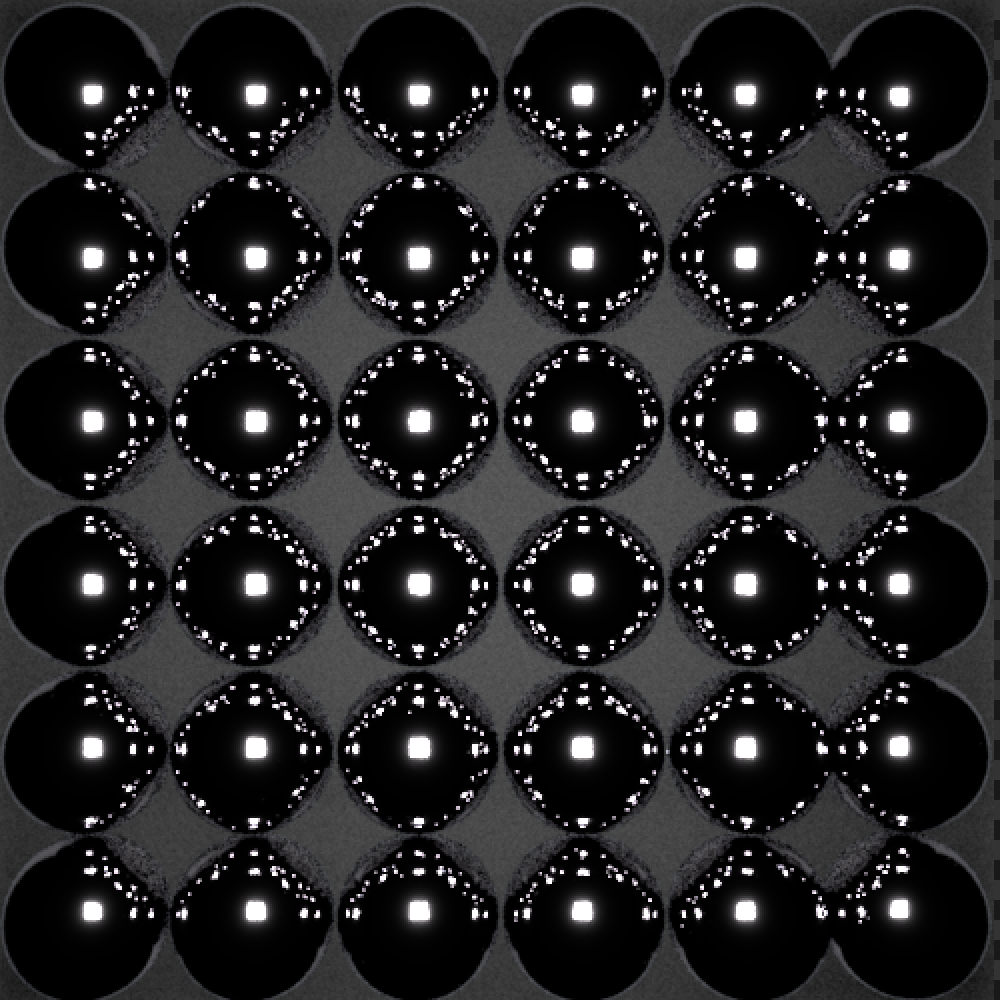
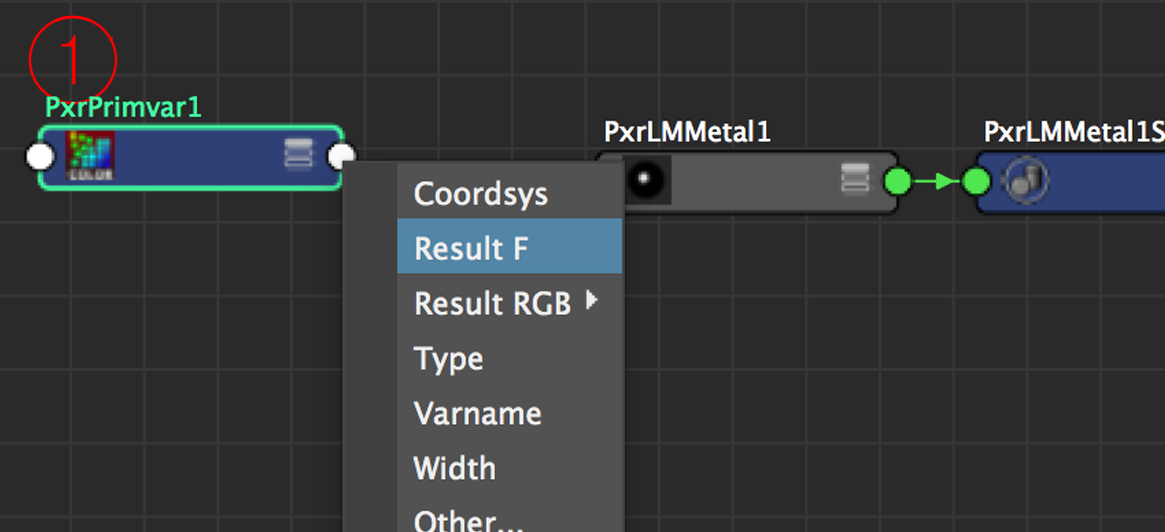
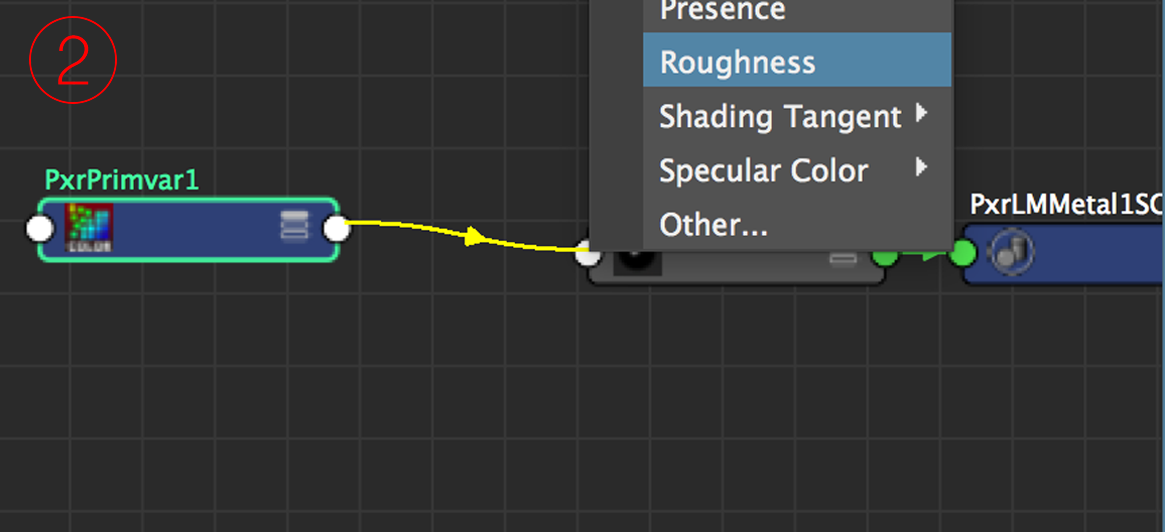
Then from PxrPrimvar node, connect the Result F to the any shader’s attribute that you want to make variation, in this case I’m going to connect it to the roughness.
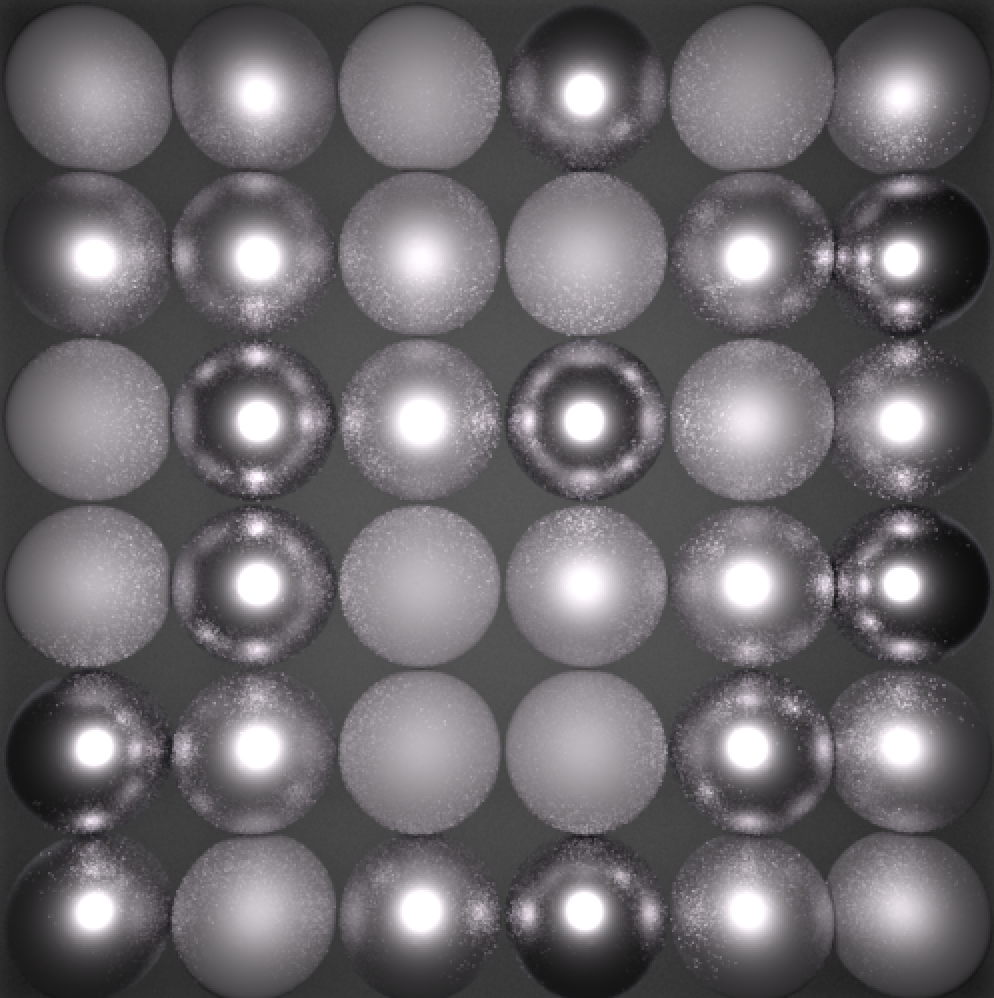
Once they’re connected the result is as follow:
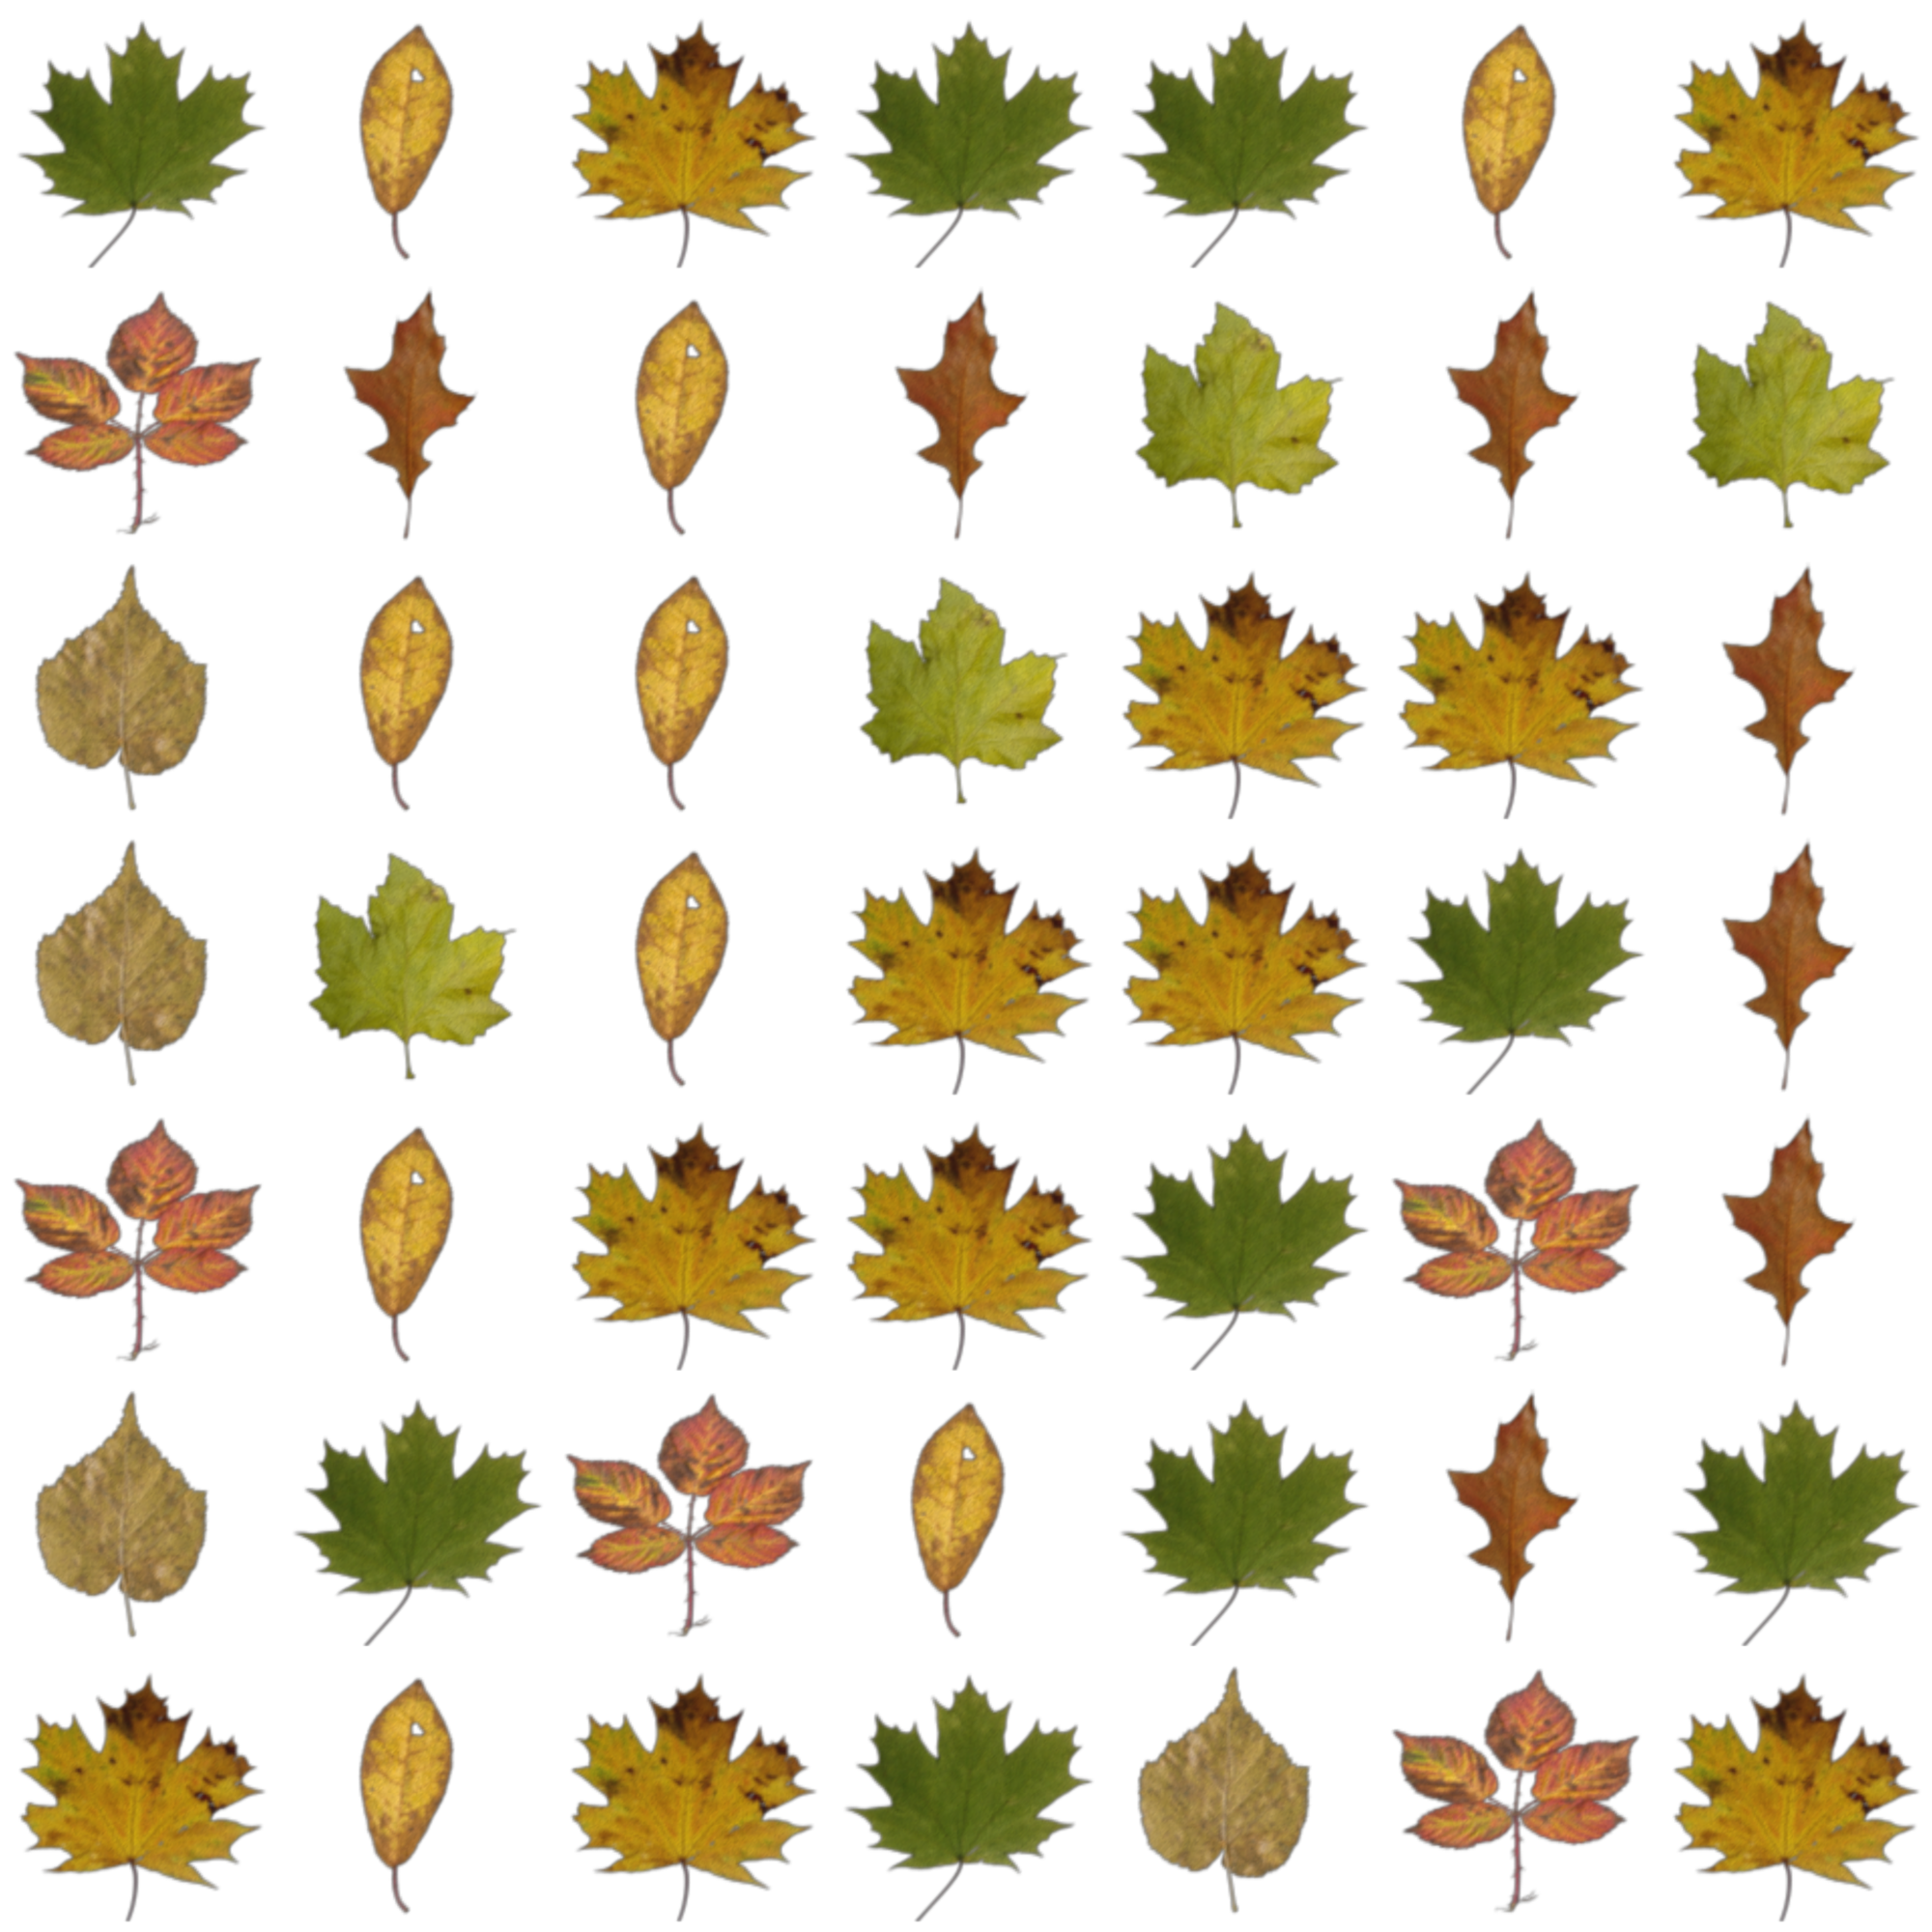
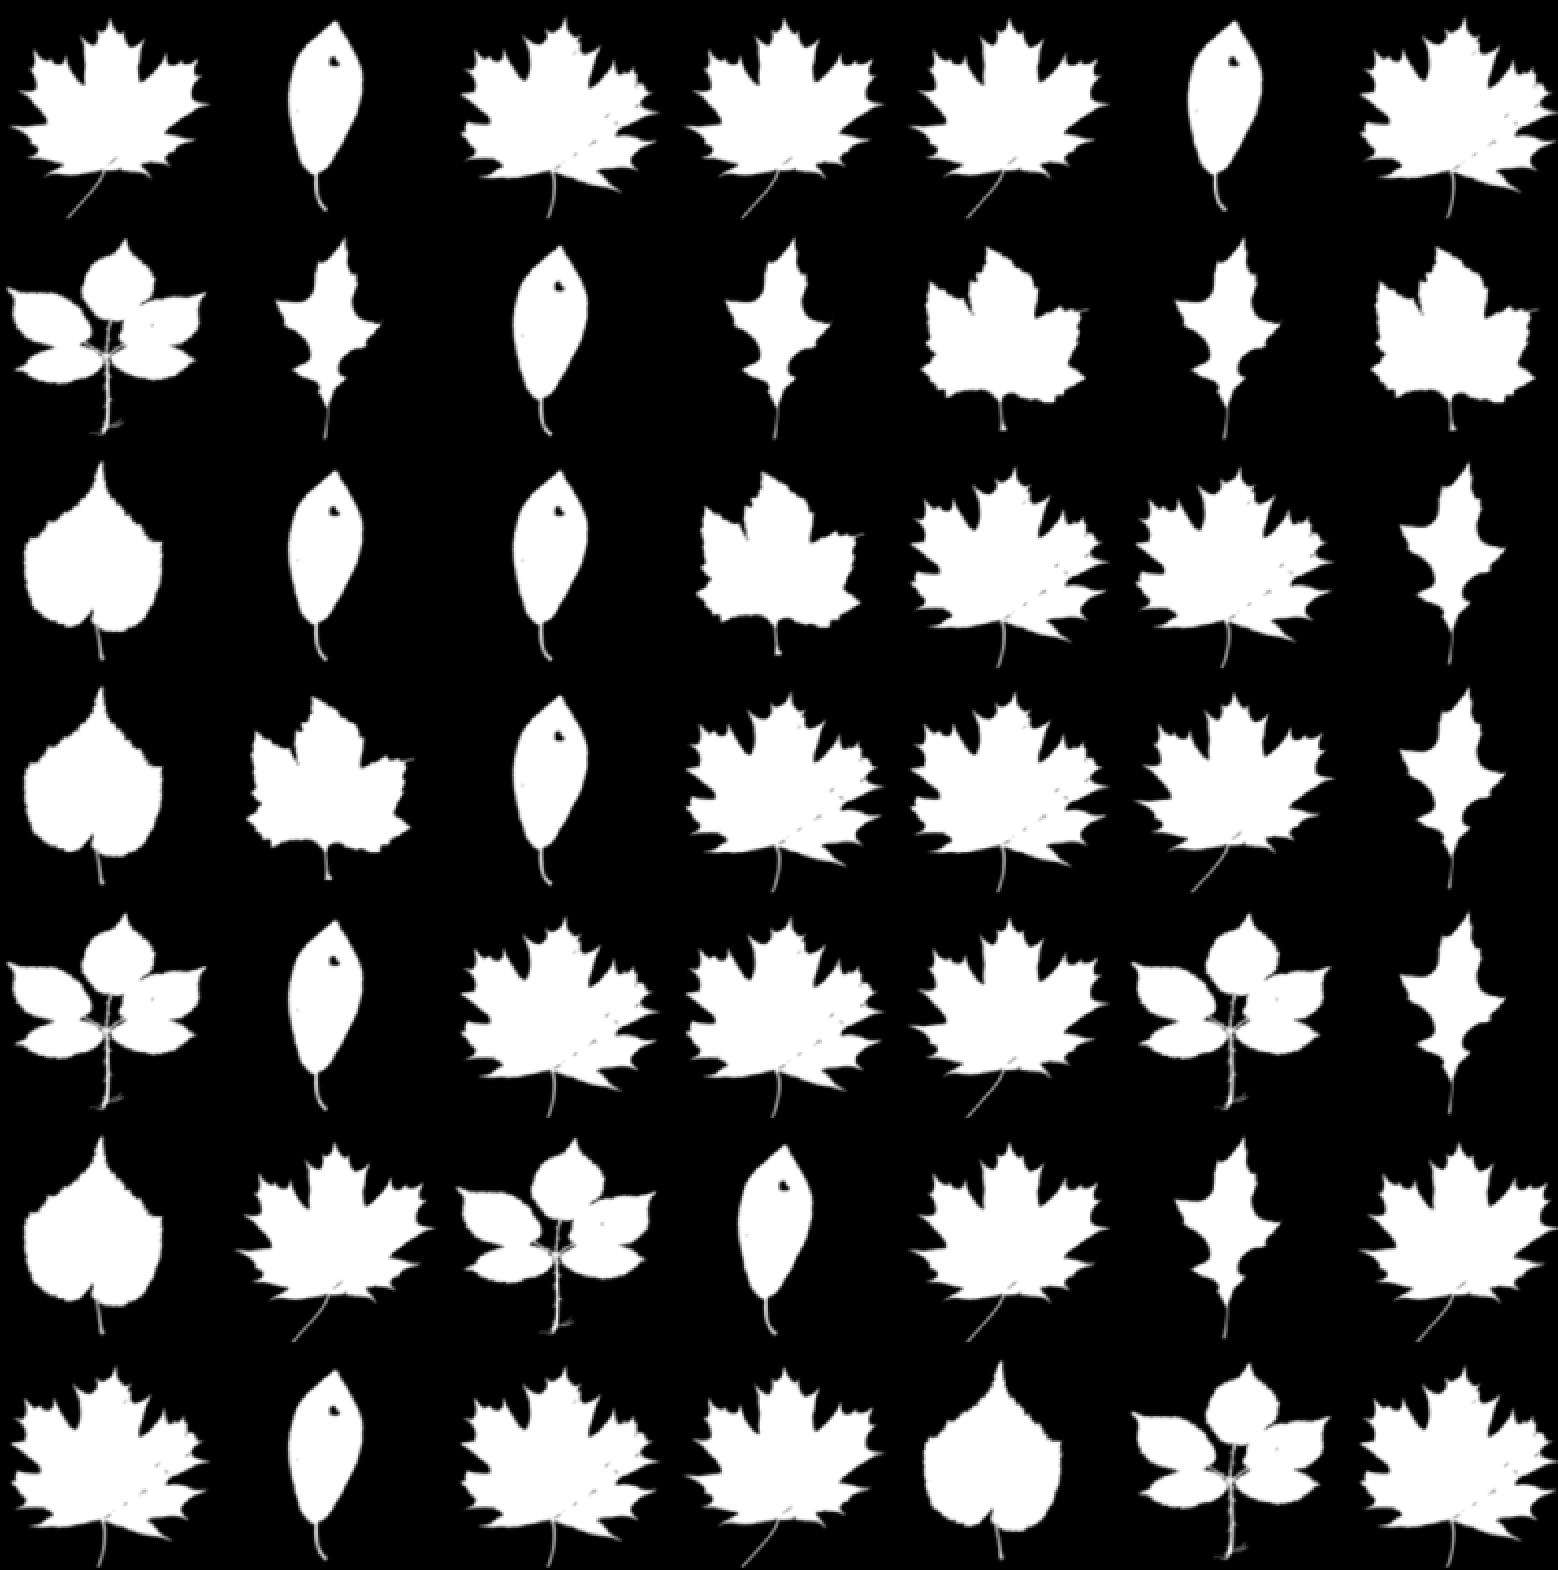
rmanS
This attribute is ideal for use for any texture input, such as diffuse color, specular, alpha.
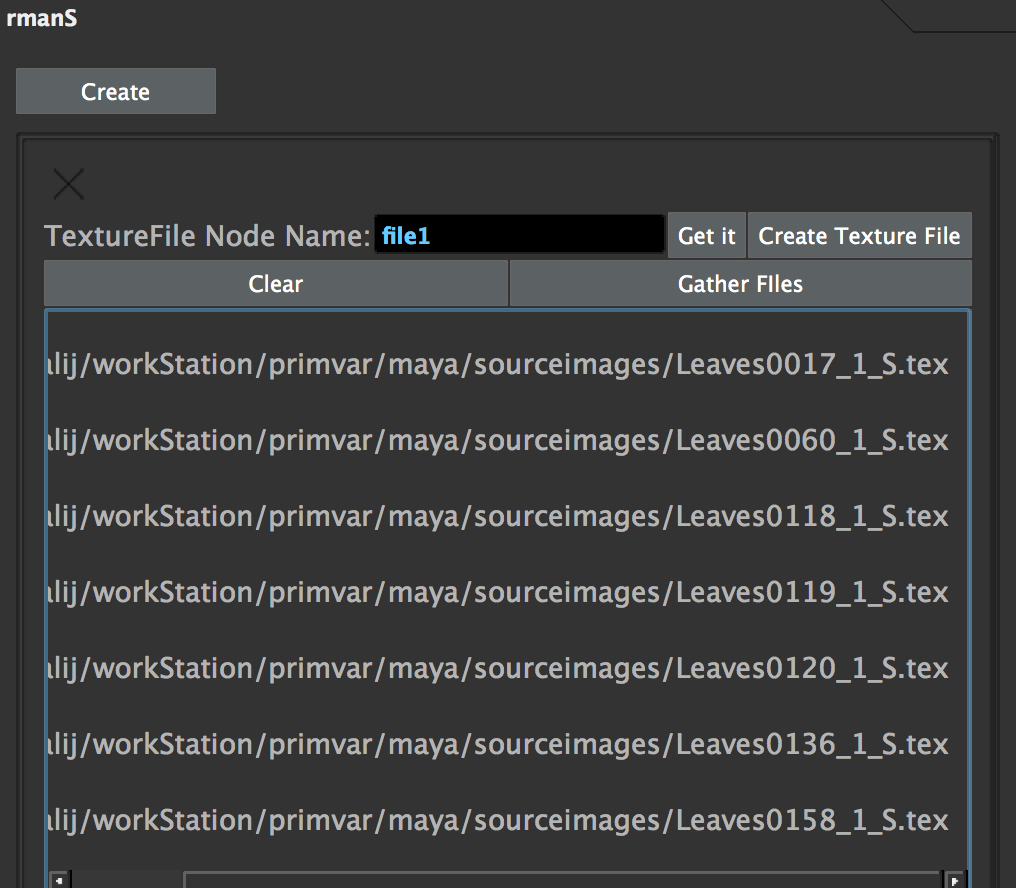
- Click on the create button.
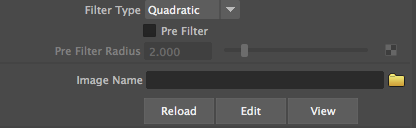
- Provide the name of a texture read node. (Either Maya’s native File Texture node, or Pixar’s PxrTexture Node)
- Click on the Gather Files to select the images that you want to use.
- Select your geometries and lick on Assign.
Note
I used some leaves textures from www.textures.com
If you select a shape node, in the Extra Attributes, you’ll see there’s a new string attribute.

Next, connect the Output Color of the texture file to the Surface Color of your shader. (As you can see in the following graph, if the image has alpha channel and you want to use it, connect it to the appropriate inputs)
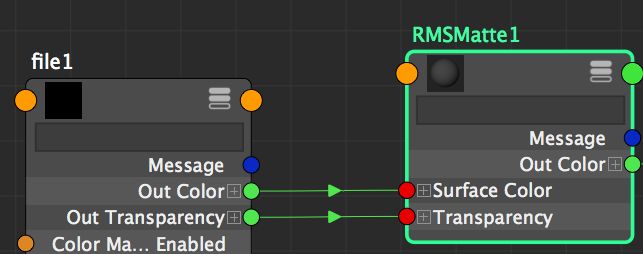
Note
Make sure you leave the File Path of the texture node empty.
I applied this to few simple planes,
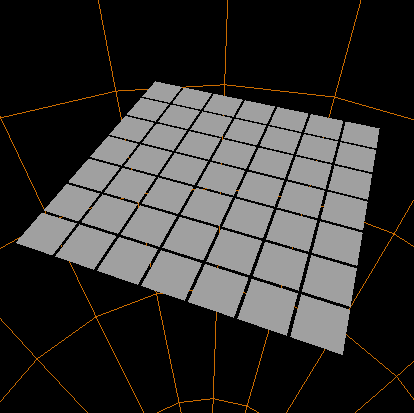
And here is the result of the: